v1.2 to v1.3: Form migration
In order to migrate your form configuration from v1.2 to v1.3, you are required to export your forms as JSON and gradually migrate them into Typescript following these instructions. Once you have your forms exported as JSON files you can proceed on your own to complete the steps or alternatively contact us, and we will do the migration for you free of charge.
If you are working on behalf of a government that is considering a national scale implementation of OpenCRVS, we offer to migrate your JSON forms into TypeScript as a free service.
Please send your birth.json and death.json files to us at [email protected]
Alternatively, if you wish to migrate the files yourself, please follow the steps below.
1. Exporting your forms as JSON files
Ensure that OpenCRVS is running in your local development environment with your existing form configuration for 1.2
Add the following line in the getConfiguredOrDefaultForm function in the following location to log your birth and death form JSON in Chrome's console developer tools:
Location of function:
opencrvs-core/packages/client/src/forms/configuration/index.ts (add on line 299)
console.log(JSON.stringify(form))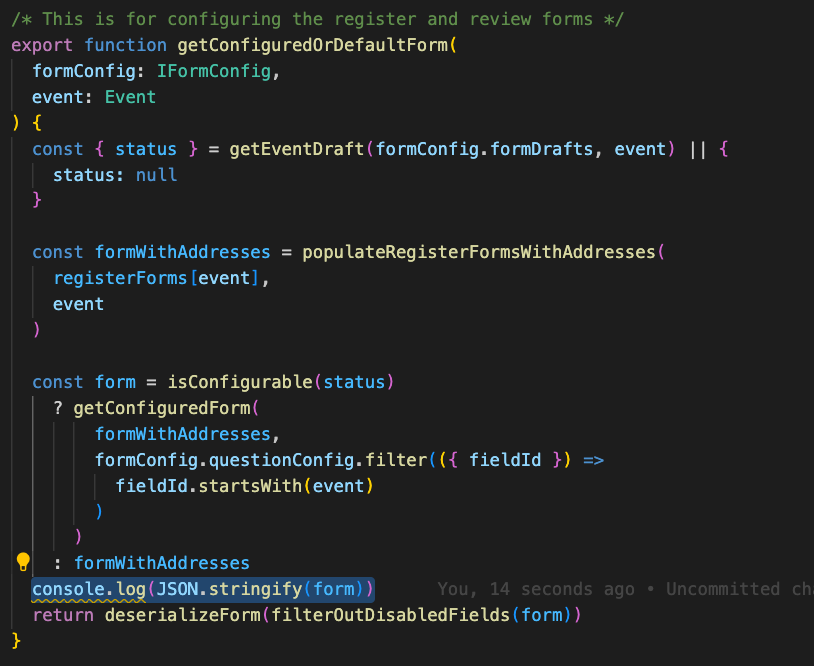
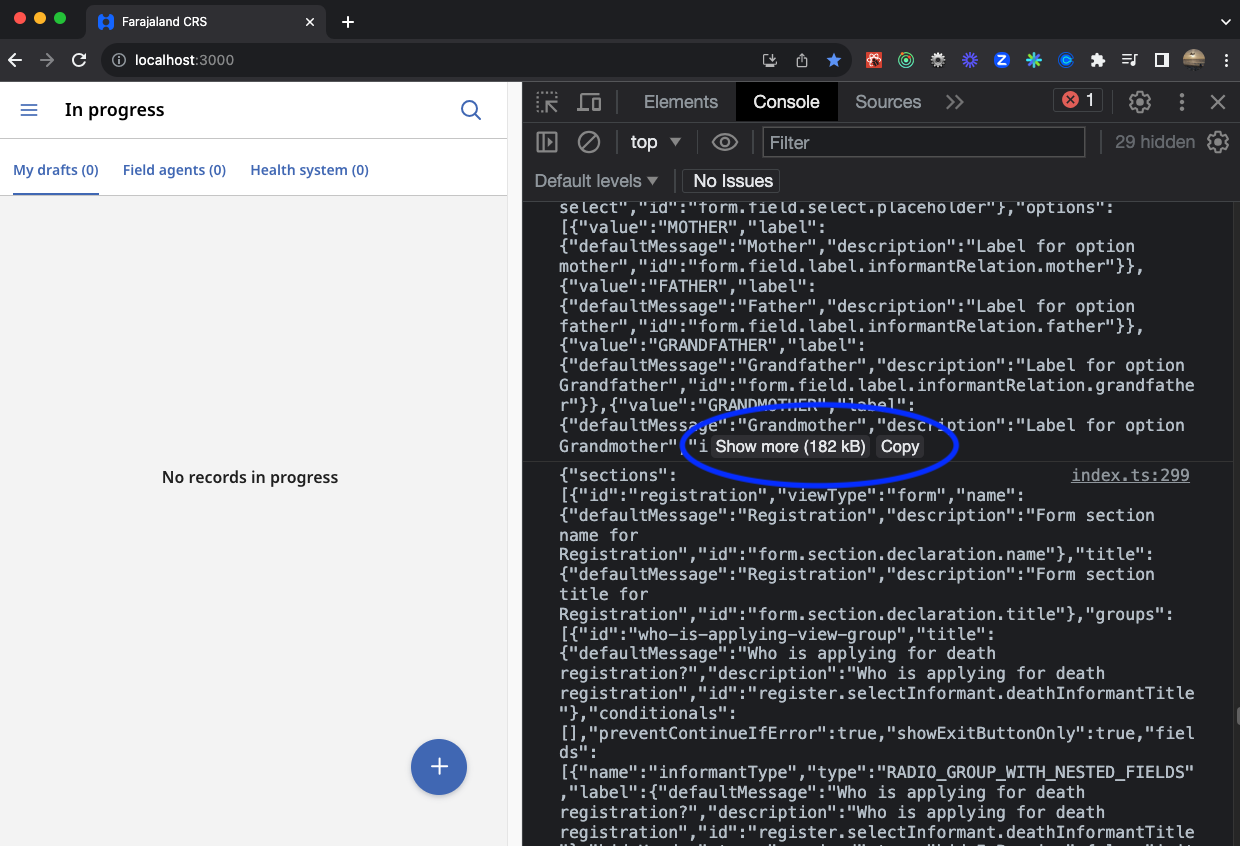
If you save this file, the client will rebuild and you can log in to OpenCRVS. Open Chrome's developer tools and select the Console tab. You will see the configured forms truncated in JSON. For each truncated JSON, click "Show more" & "Copy" ... You can now paste out the contents into 2 new JSON files "birth.json" & "death.json" like this:
You can now decide to proceed independently, or if your government is considering a national scale implementation of OpenCRVS, email these files to us at [email protected] and we can perform the work for you to help you migrate to Typescript.
2. Rendering your JSON forms in v1.3
Quit OpenCRVS v1.2 and checkout OpenCRVS v1.3, then run v1.3 in a development environment.
In your v1.3 country configuration repository add the following versionMigrationHandler function and import into the following location and copy your JSON files for each event form into the linked location:
Location of function:
E.G.:
opencrvs-countryconfig/src/form/index.ts
In the v1.3 country configuration repository temporarily direct the form API route handler to your new function.
Location of change:
E.G.:
opencrvs-countryconfig/src/index.ts
When you login to OpenCRVS v1.3 in development mode, you will notice the following warnings ...
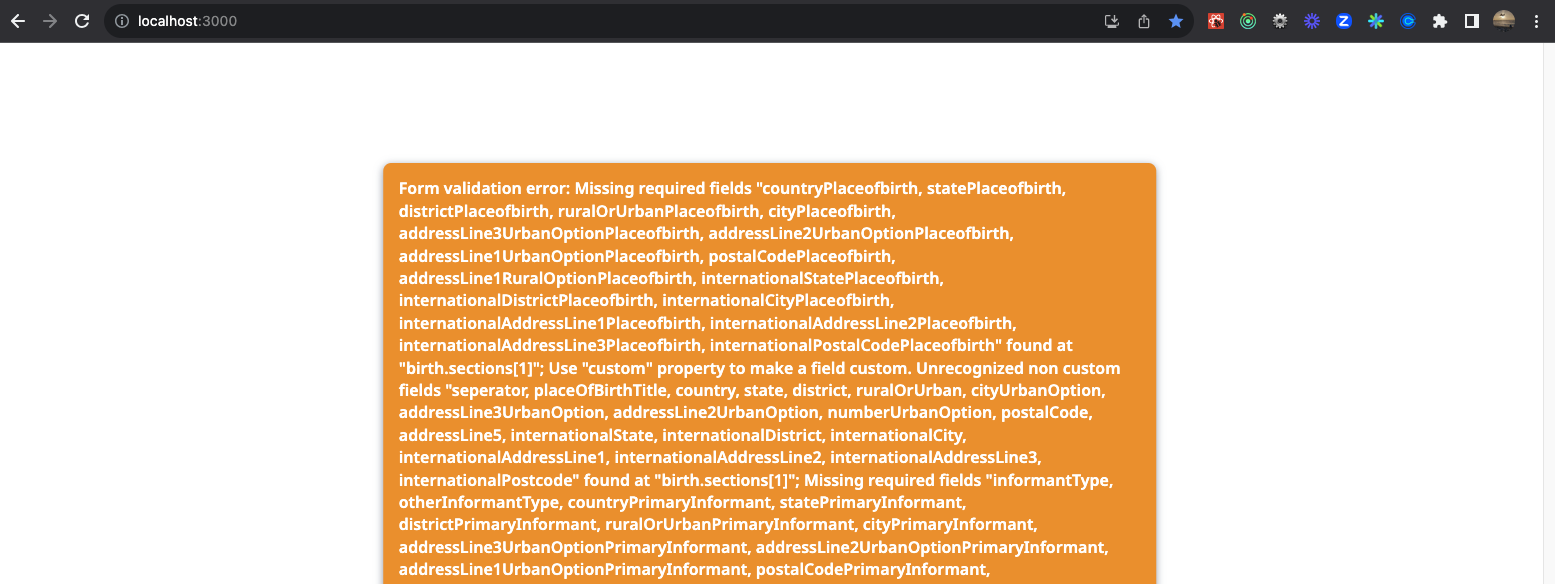
In OpenCRVS v1.2, full individual addresses were not able to be added onto certificates, only the district or place of birth. In OpenCRVS v1.3 all address fields can be individually placed on a certificate. Therefore all certificate handlebars for addresses are required to be unique. This warning informs you that the OpenCRVS v1.2 address handlebars are not unique and must be replaced.
Open your forms and search for the place of event address fields such as placeOfBirth and placeOfDeath.
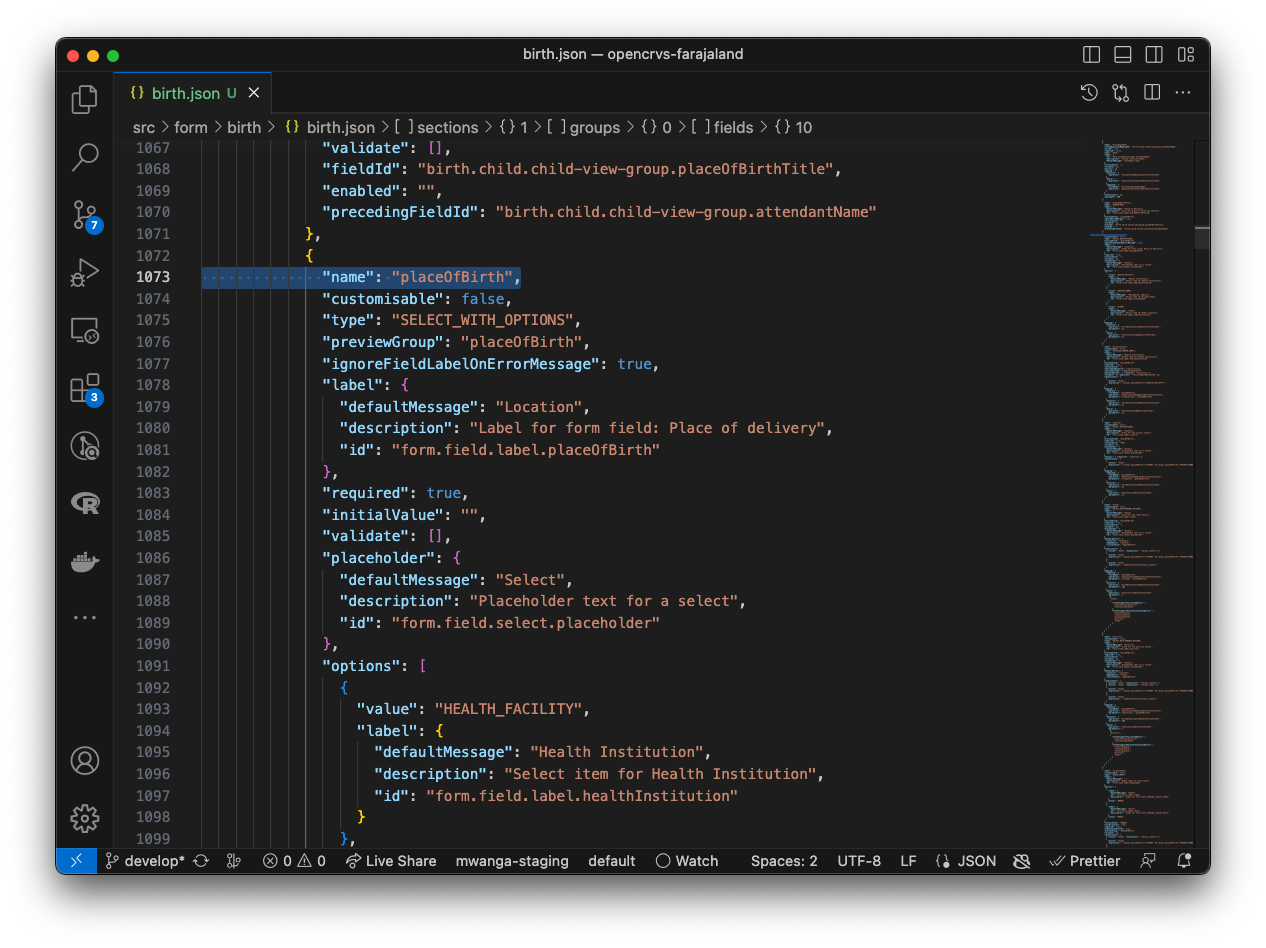
You are going to delete all the field objects for the addresses. Before you do so, take note of the field name or (if available) customQuestionMappingId property for the immediately proceeding field.
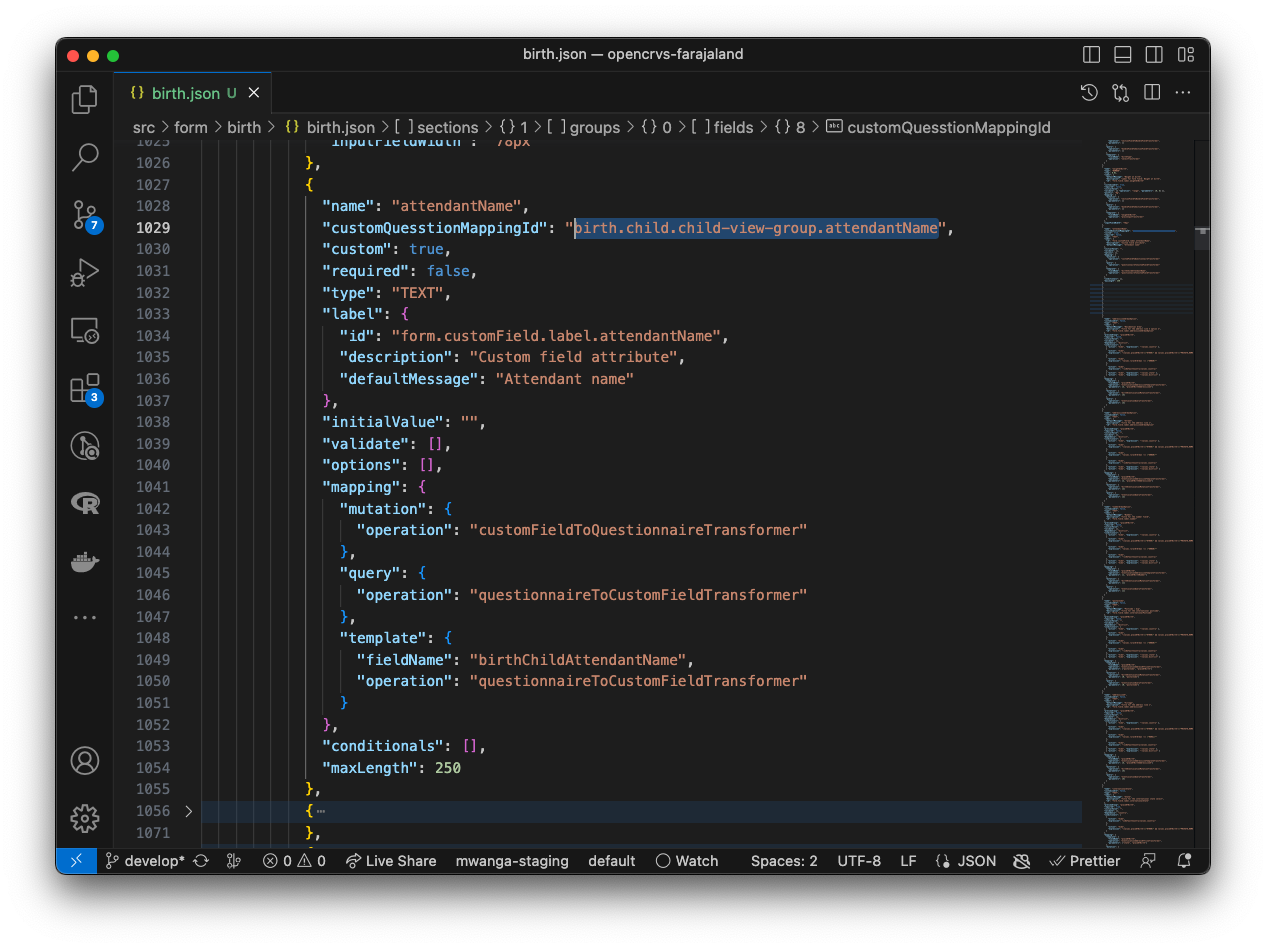
Now select and delete all address fields. In most cases the final field in the address configuration will be the end of the international or secondary address fields.
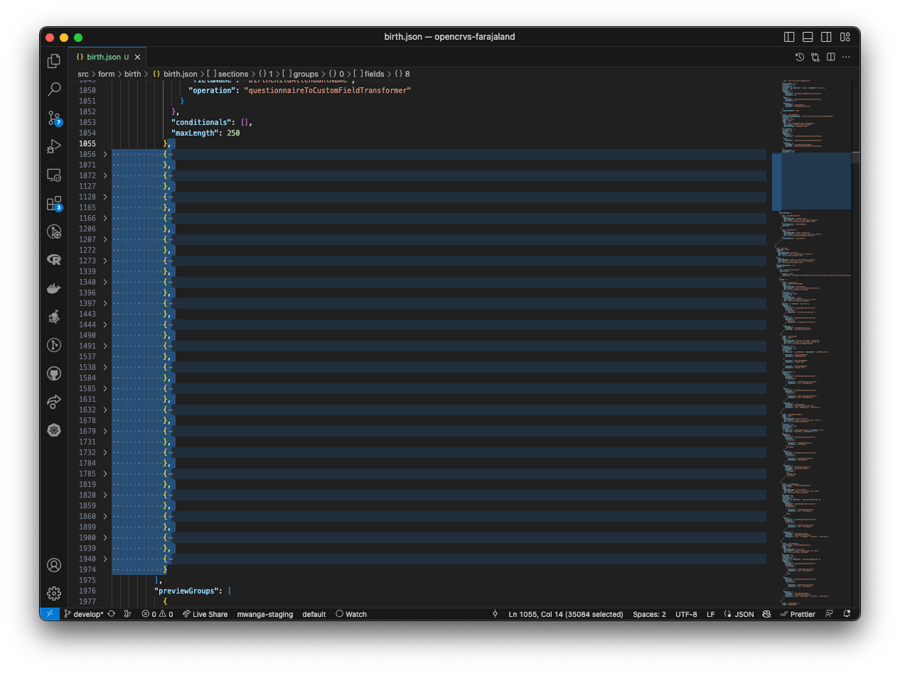
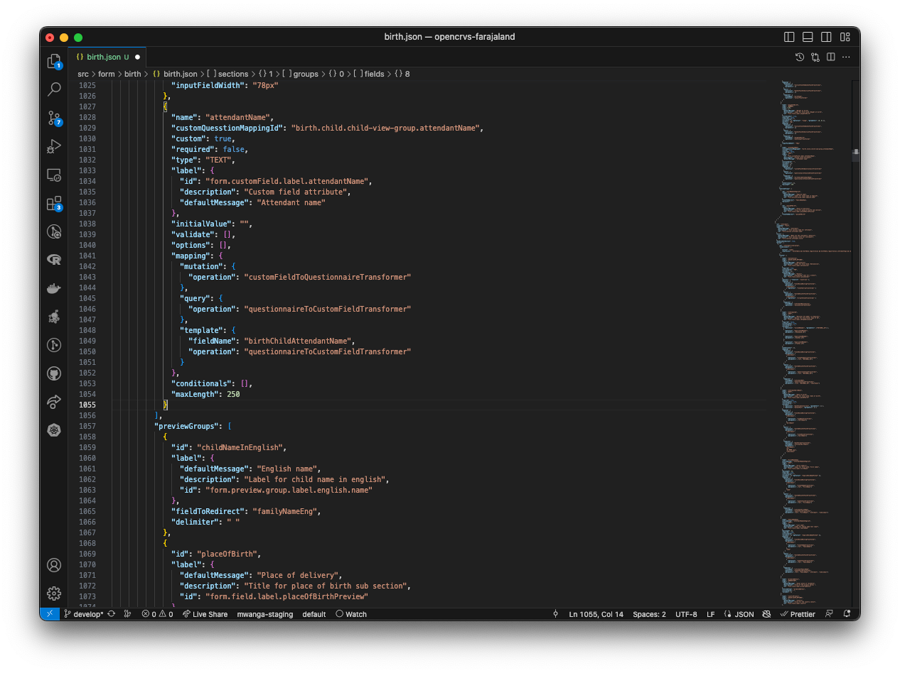
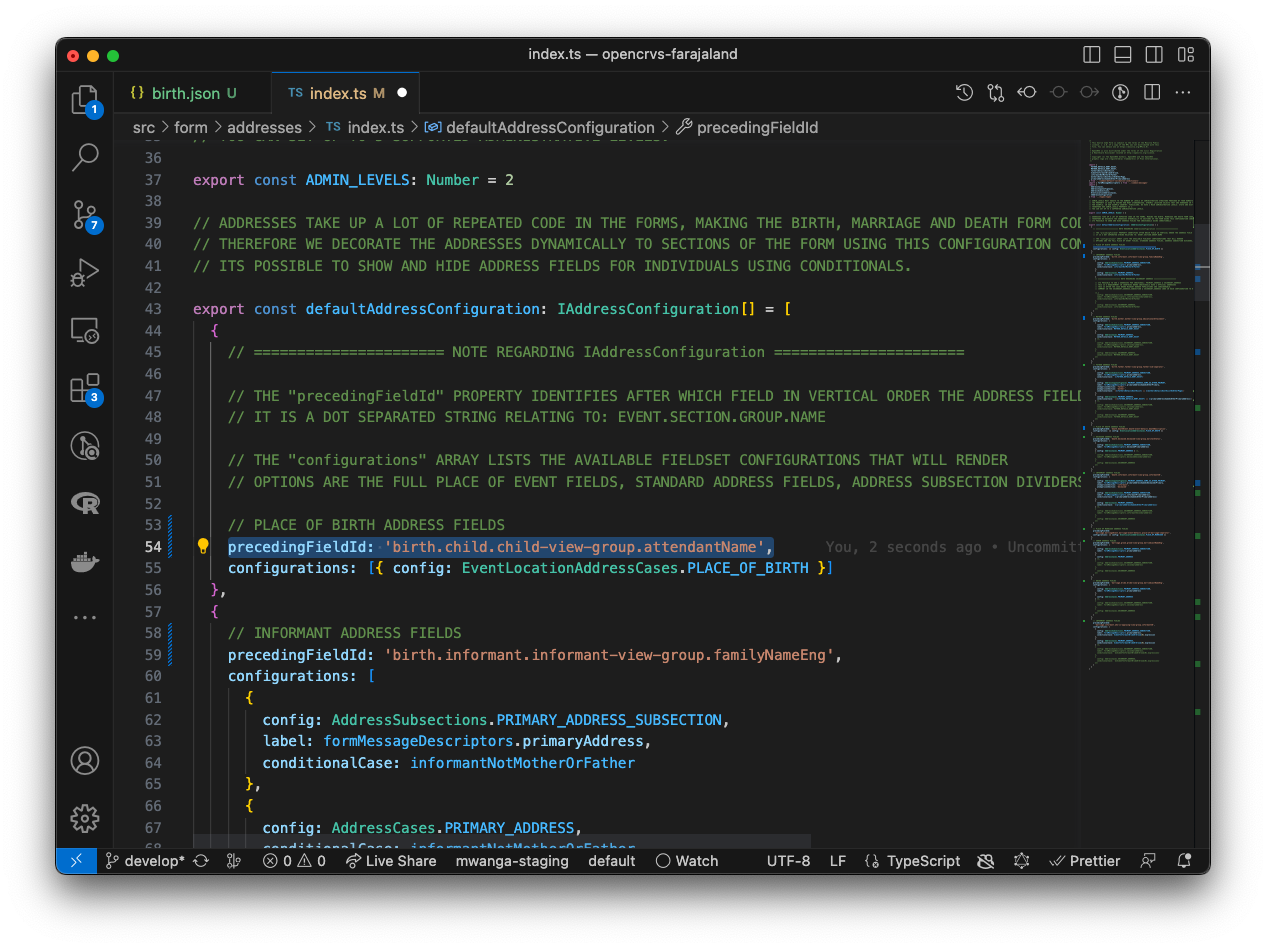
In OpenCRVS v1.3 address fields are dynamically decorated into the form in multiple places. You can configure individual address fields by editing the functions in this file and the vertical position of where the addresses should be rendered by amending the preceedingFieldId property in each case in this file.
Paste in the preceedingFieldId property we referenced earlier for the place of birth address here:
You can repeat the process for the address fields associated with parents and informants, by searching for the primaryAddress field in the birth.json. Delete all the fields appropriately and amend the preceedingFieldId in the configuration file above as you performed for place of birth.
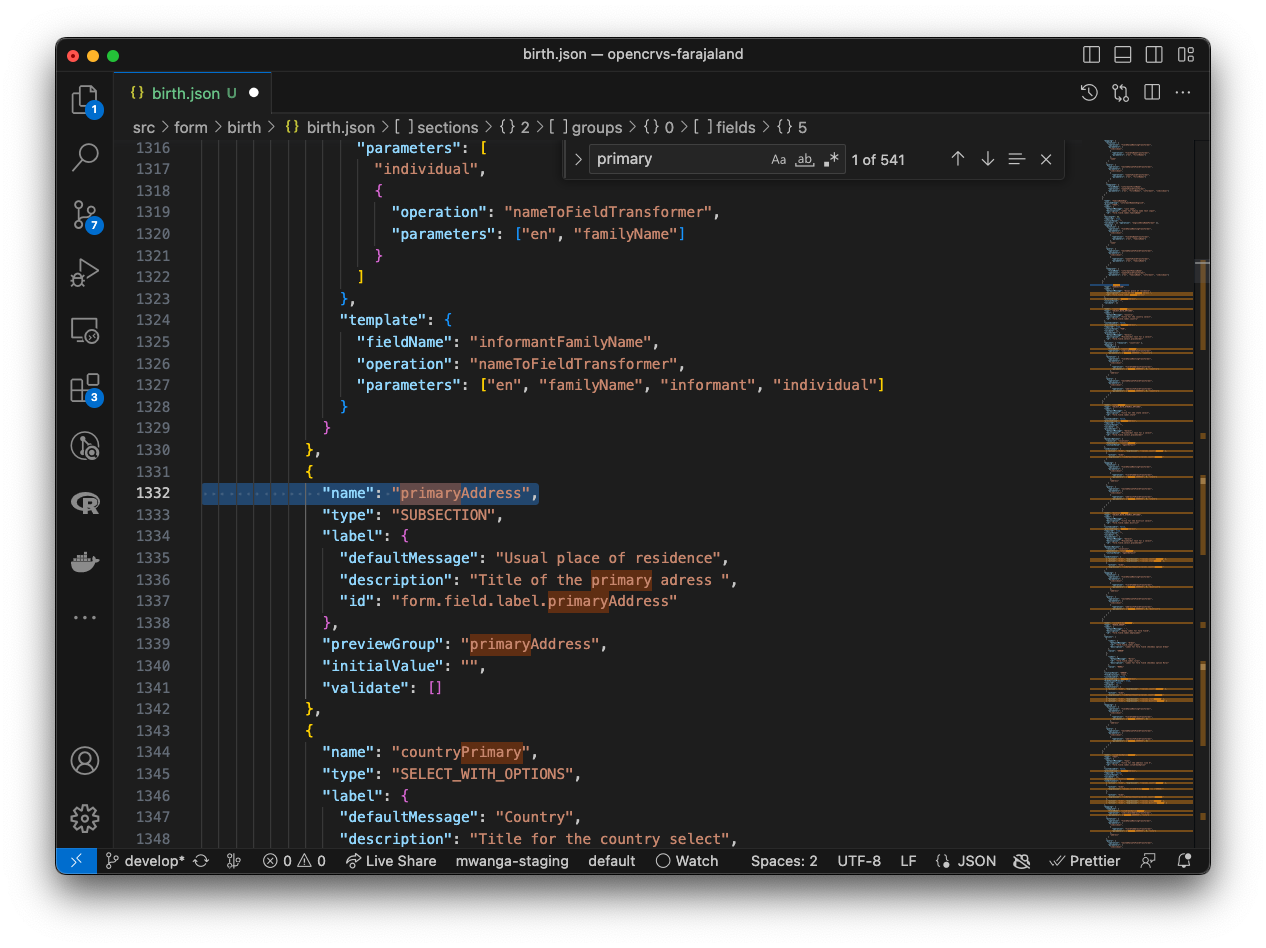
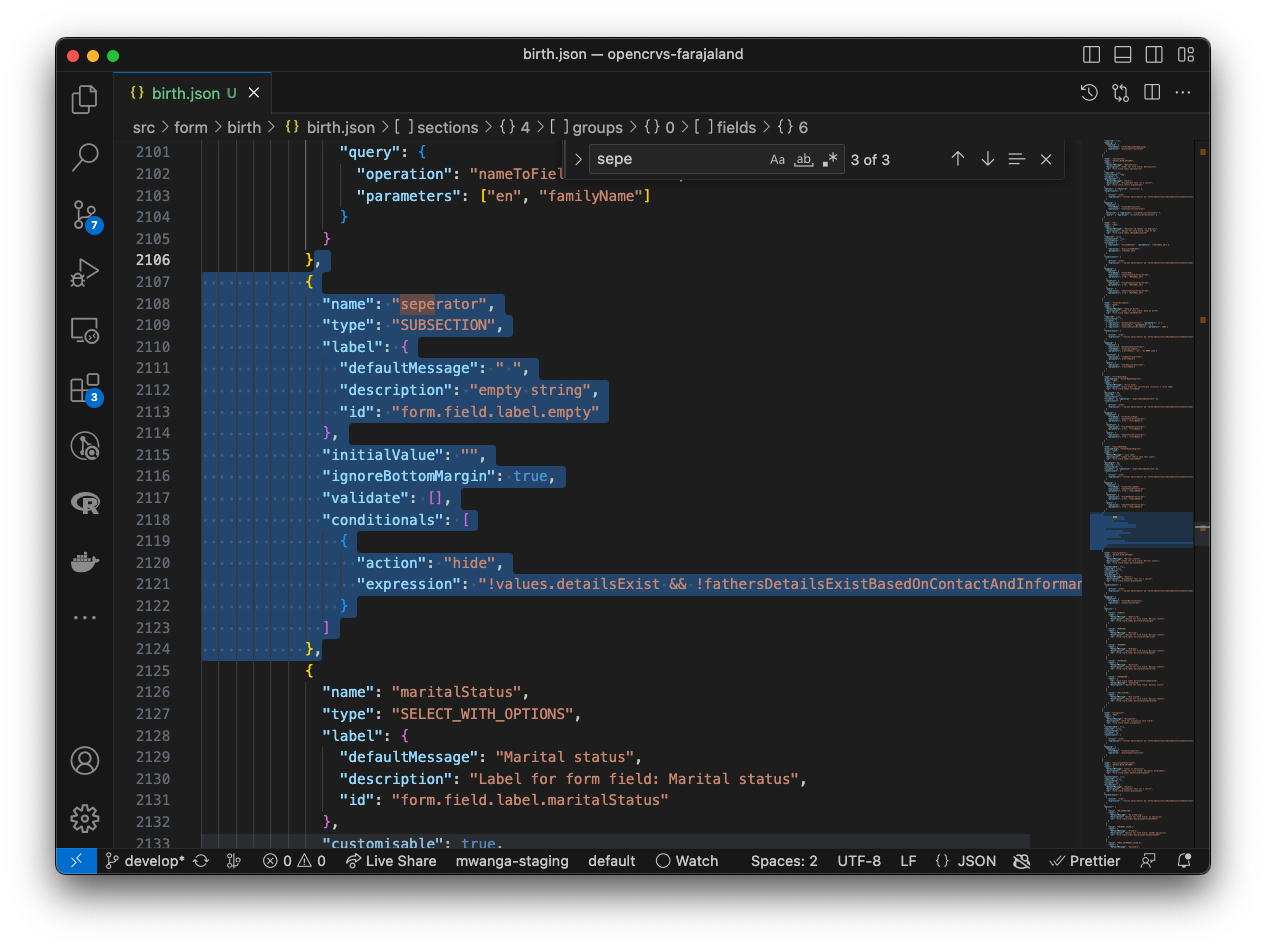
In OpenCRVS v1.3 some extra components have been introduced to have more visual control over the form. As a result some previous components have been deprecated or renamed. One such component is SUBSECTION, now referred to as a DIVIDER. Find and delete any such fields. Refer to the new configuration notes in order to understand how to use the new fields.
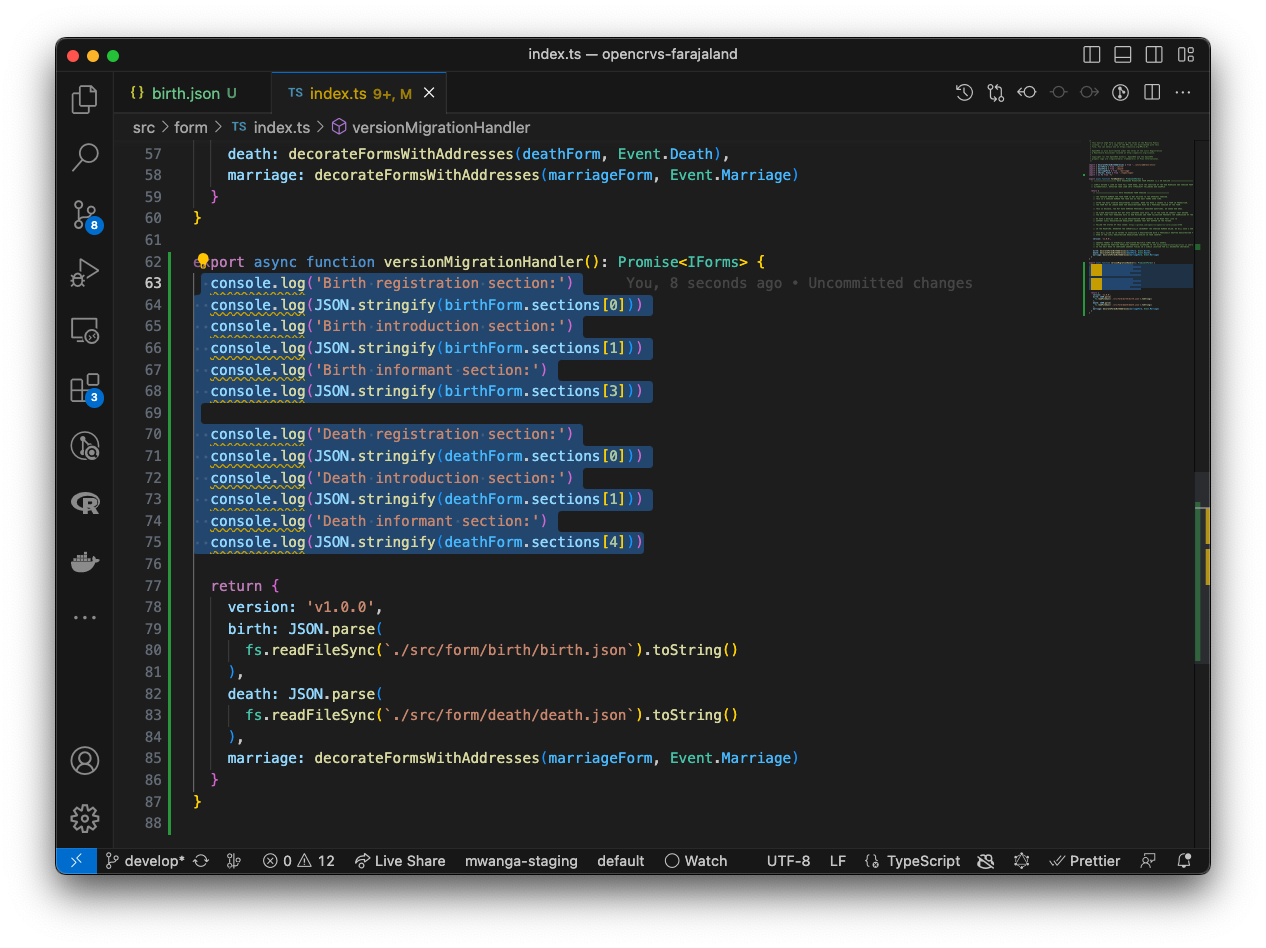
In OpenCRVS v1.2 it was not possible to edit the first 3 pages of the event form such as the introduction text, the informant type and the informant contact details. Our design reasoning was that these fields were essential required pages. But we received quite a lot of requests to move those form fields to different pages. Therefore you are now required to replace the registration, introduction and informant sections in your form with the sections in OpenCRVS v1.3. Add the following lines in your versionMigrationHandler function in order to output the sections as JSON into the console:
opencrvs-countryconfig/src/form/index.ts
If you save and reload OpenCRVS, the JSON will output into your terminal console so that you can copy it and replace the sections in your birth.json and death.json:
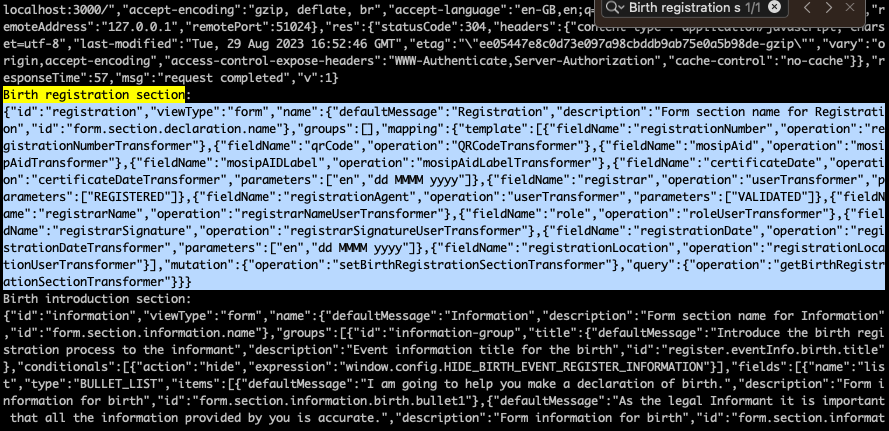
Paste the registration and introduction section over your existing registration section.
Paste the informant section over your existing informant section.
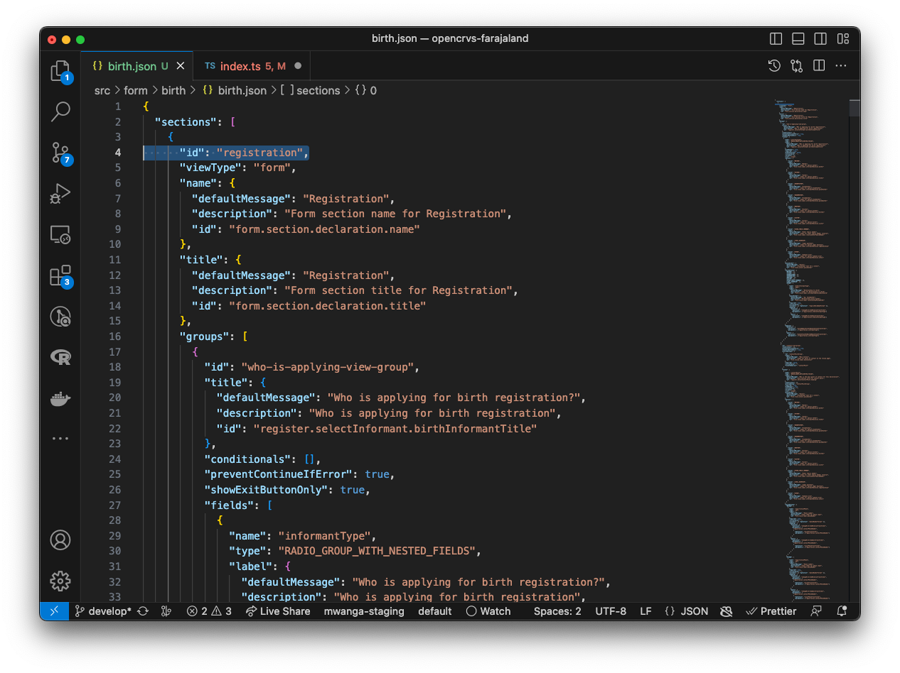
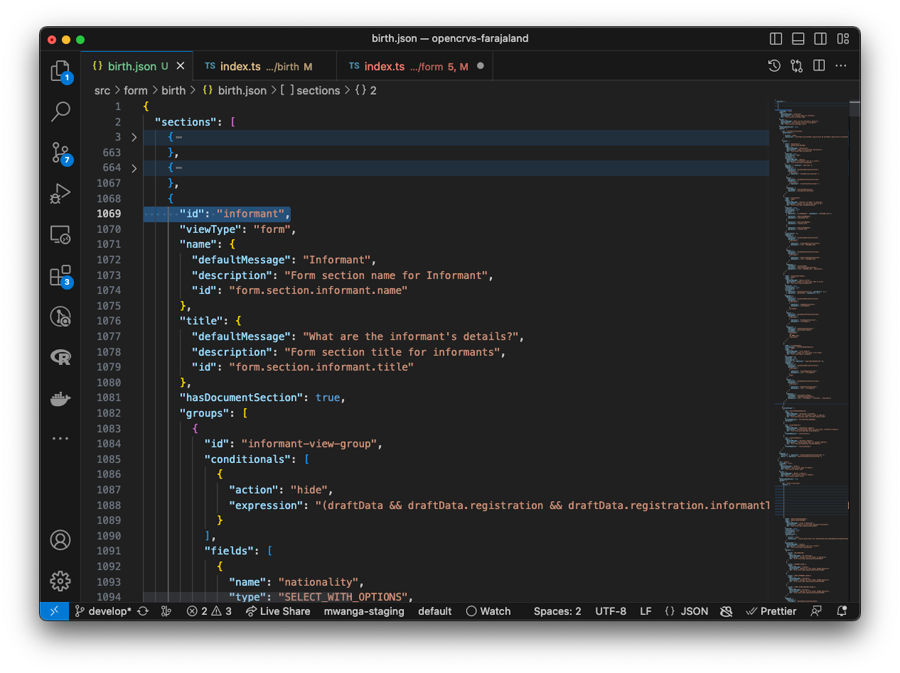
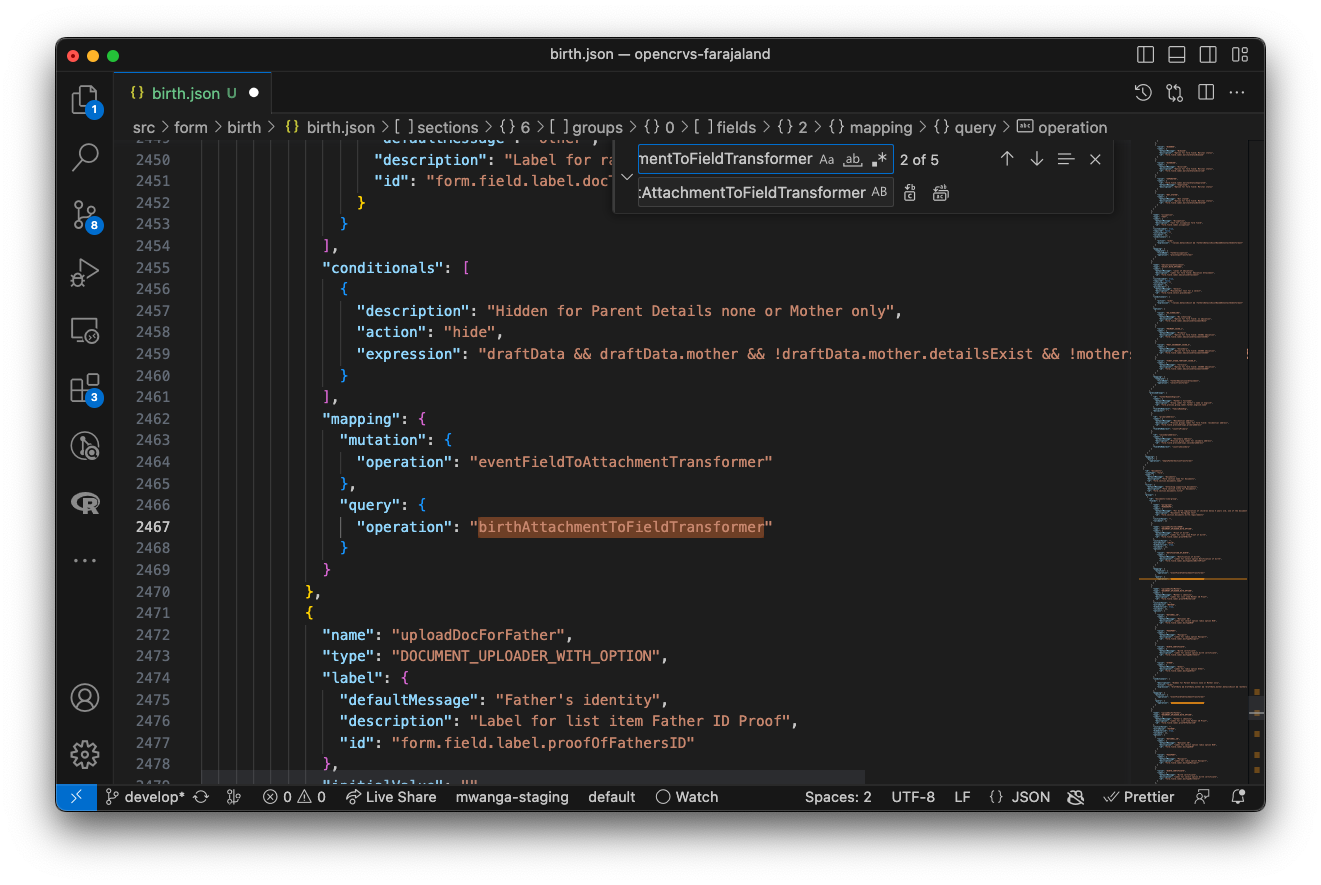
In OpenCRVS v1.3, we have renamed some mapping functions which take a field value and convert it to and from GraphQL on form submission. When you convert your JSON form into typescript, you will not need to care about these functions as we have abstracted them away, but in order for your form to render you need to replace the document upload mapping function names. Search for birthFieldToAttachmentTransformer and replace with the name eventFieldToAttachmentTransformer, then search for birthAttachmentToFieldTransformer and replace with the name eventAttachmentToFieldTransformer:
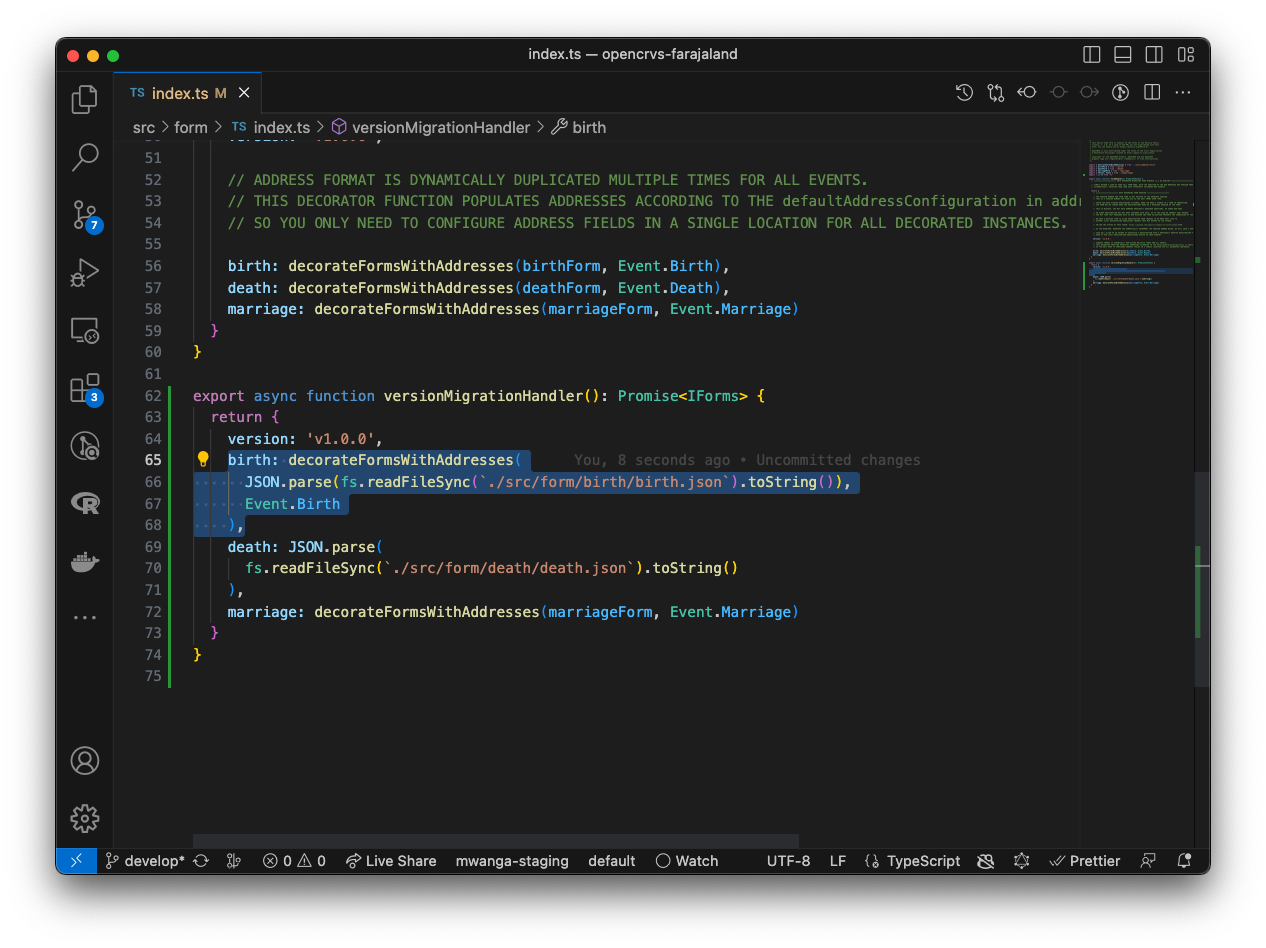
Now if you save your JSON files, you can decorate the JSON with the address fields by using the following wrapper decorateFormsWithAddresses function:
Repeat steps 8 to 16 for the death.json file. Once saved you can refresh OpenCRVS and your birth and death forms will render in v1.3 successfully.
3. Convert your JSON forms to Typescript
Now that your forms are rendering, you can follow the form configuration instructions to gradually convert your form JSON into TypeScript.