Provisioning servers
4.3.3 Provisioning servers
Provision infrastructure


Provision verification steps
Ansible tasks explained
Last updated
Now that your Github environments are set up you can proceed to provision your servers using our automated "Ansible" powered actions.
The Provision environment action will automate a large number of installation and sysadmin tasks on your servers. Refer to the directories in order to understand each task.
IMPORTANT SERVER ACCESS NOTE: As a security step, the Ansible script will disable root SSH access to your server and all password access for SSH users. SSH key authentication is then enforced using the public keys for the users in your inventory files.
Additionally. SSH users will be required to install Google Authenticator and use a 2FA code to access. SSH access procedures to a server after Provisioning completes. This is explained here. Refer to SSH Access
Provision scripts includes Kubernetes cluster upgrade playbook (see tags all and k8s). OpenCRVS application will not be available during cluster upgrades.
Click on the "Actions" tab in Github and select the "Provision environment" action. Click the "Run workflow" button.

In the "Machine to provision" select your target environment, E/g: "qa".
In the "Select group tag you want to execute" select, choose "all". All other options will work properly after first provision
Click the green "Run workflow" button to commence the provisioning of this server.
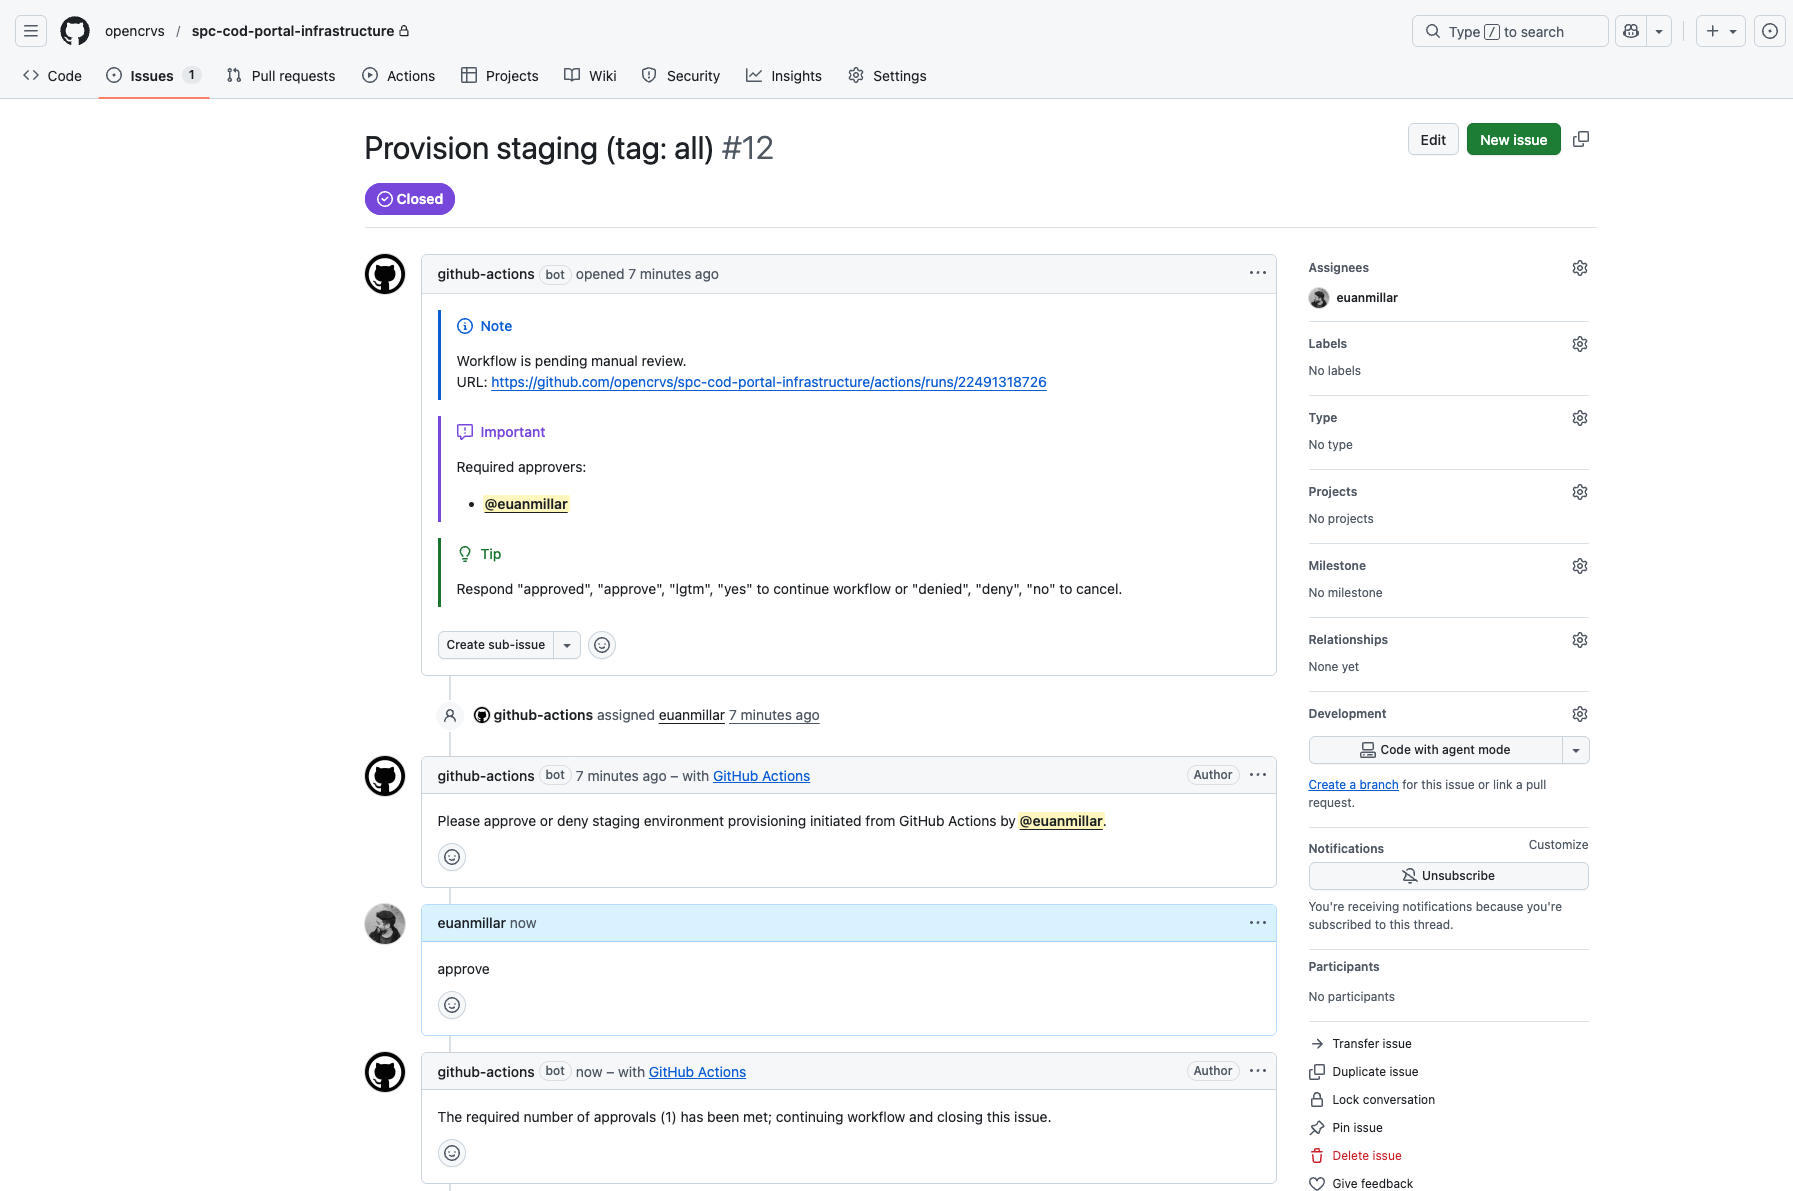
If you have enabled the approval step for production environments, an issue will open requiring your list of users to approve the running of the action by commenting as described within the issue. See below ...

The process can take anything up to around 20-30 minutes to complete.

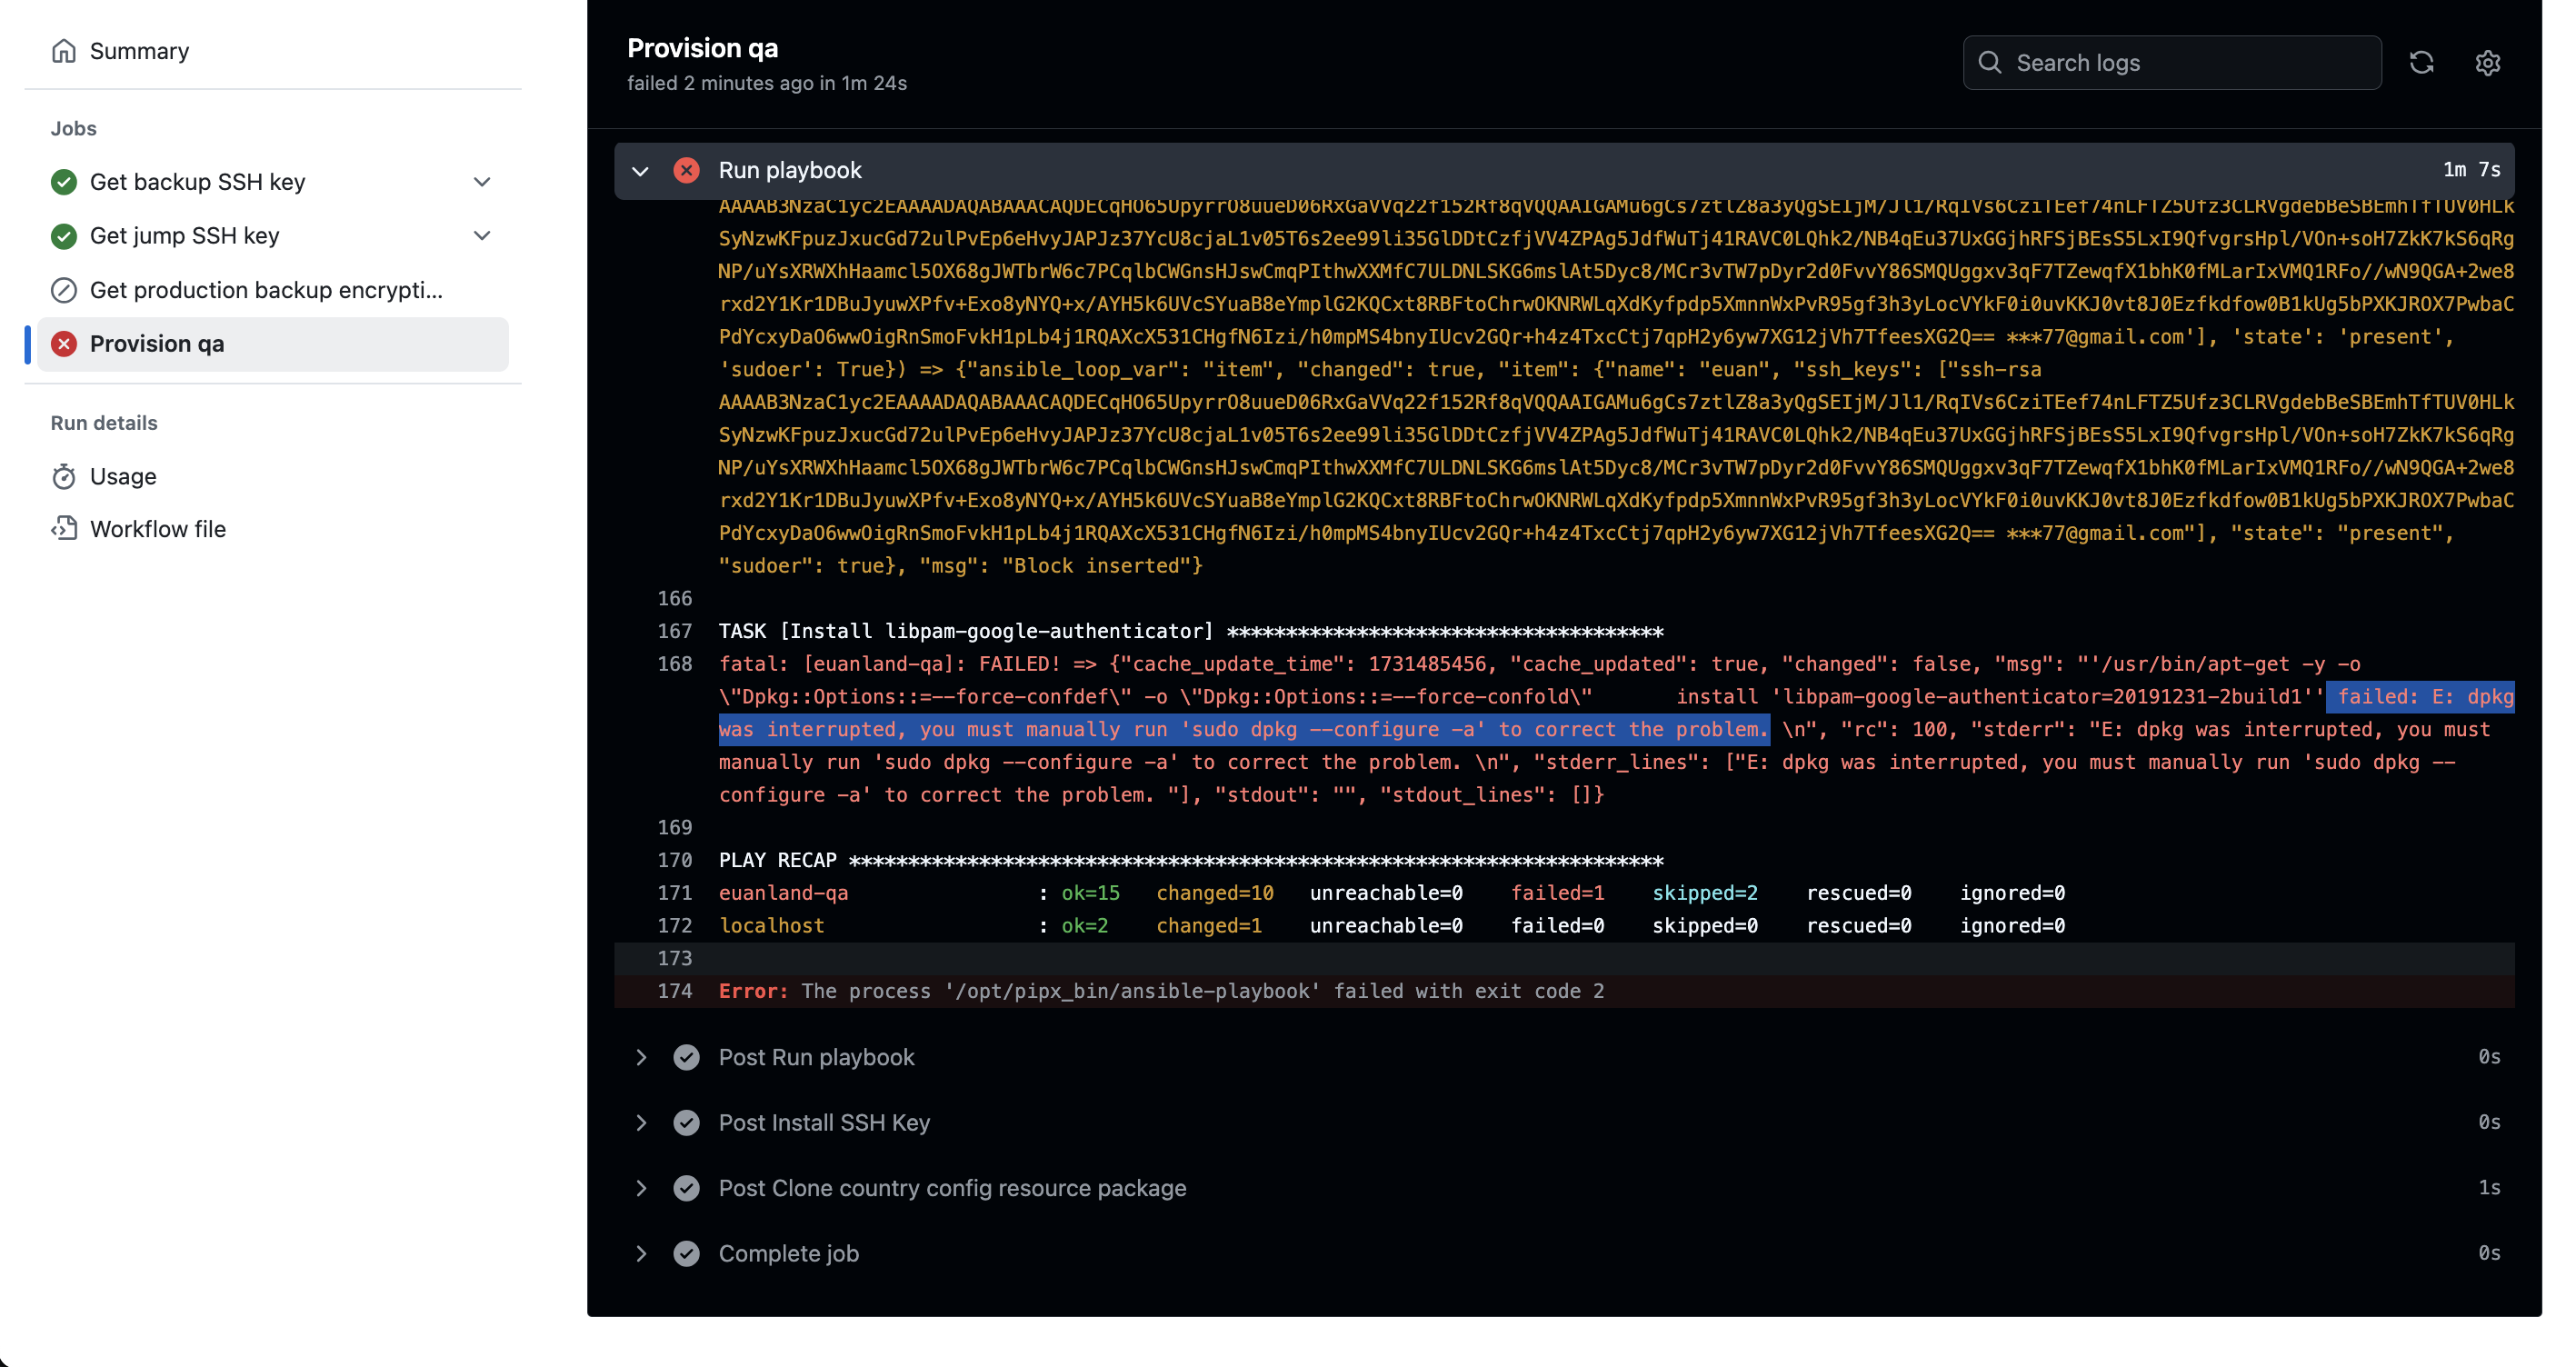
If you see a red cross, it means that a certain step failed and requires to be debugged. There might be a problem with your data center, your Ansible inventory files, your Github environment secrets, or there may be network connectivity issues.
Ansible will perform a huge amount of Ubuntu commands that you would normally be required to run manually one-by-one. It saves you a large amount of time.
If the Provision action fails, try re-running it before investigating further, as failures could be due to network conditions. If it fails at the same point each time, then a legitimate bug requires investigation.
You will need experience with Ubuntu and confidence with servers to debug any issues. In the above example, the solution was as simple as SSH-ing into the server and running the command as instructed in the error message, then re-running the Provision action again.
Reach out in Github Discussions if you have a question.

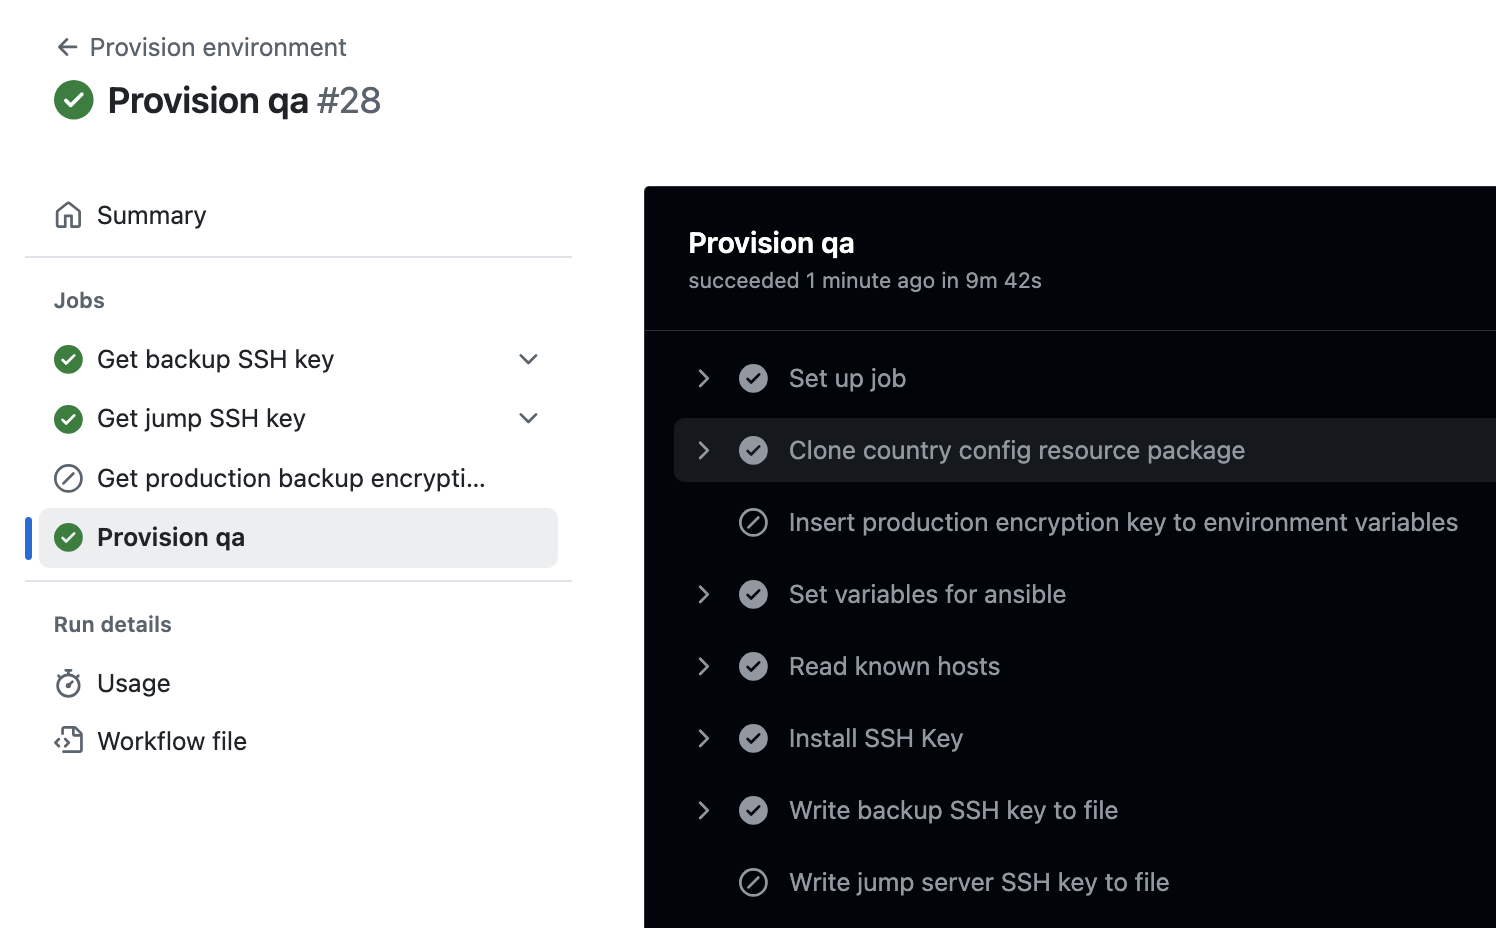
If the server provisioning works, you will eventually see a green tick to mark that the server provisioned successfully.
In the "Select group tag you want to execute" select, when you choose "all", you are instructing Ansible to run every one of the infrastructure task commands listed in the infrastructure/server-setup/tasks directory and explained in this list.
It is possible for you to choose to run any one of these tasks individually at any time, such as an example given when refreshing static TLS certificates.
Last updated