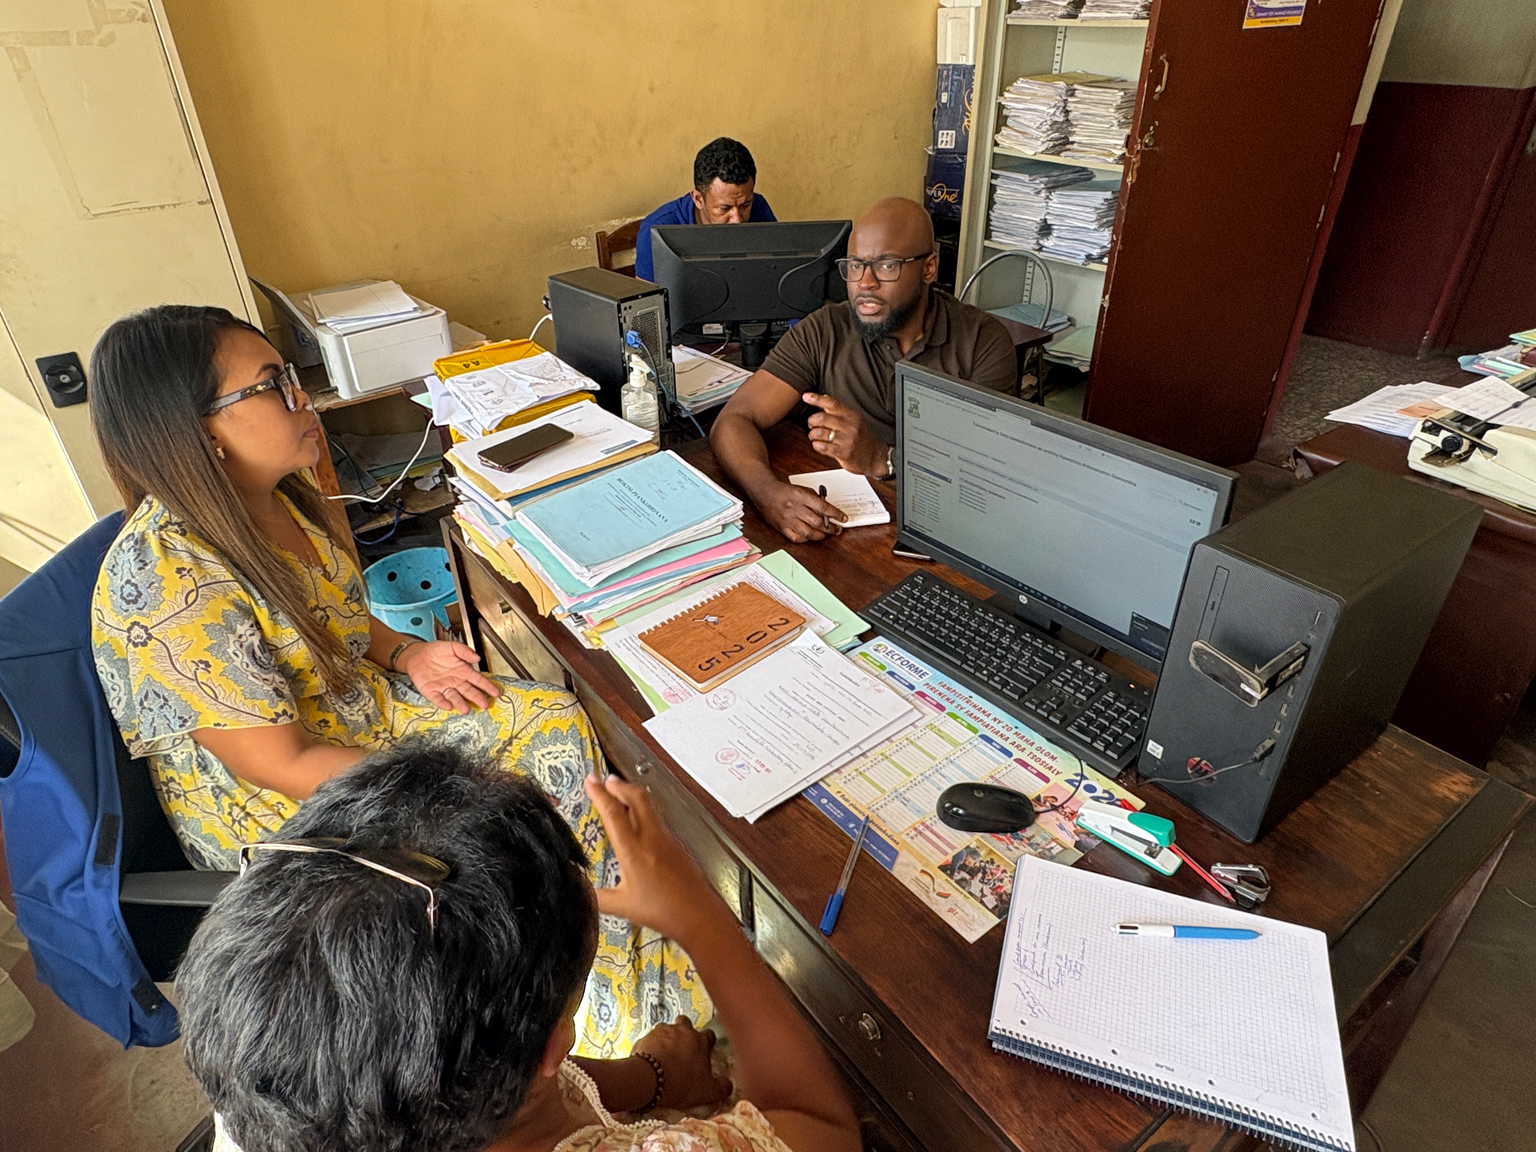
Field Research & discovery
Context immersion and primary research
1. Introduction
This is the second stage of Gathering requirements, and it is where you find out how civil registration actually works — not how it is supposed to work on paper. You go into registry offices, health facilities and communities to see the process in action: who does what, where it slows down, and the workarounds people rely on to get the job done.
The goal is to document the gaps between formal policy and day-to-day reality. That practical insight is what makes the difference between a configuration that fits the country and one that fights it.
What this stage produces: validated "as-is" process maps, a business-rules register, and a prioritised list of the problems worth solving. These are the evidence base for Co-Design & Validation.
When: This stage is carried out in country, after Desk research & planning. Indicative duration: 1–3 weeks of fieldwork, plus time to synthesise afterwards. It scales with the number of events in scope and the geographic spread.
Before you start, you should have the outputs of Desk research & planning:
a fieldwork plan and confirmed schedule
a baseline understanding of the CRVS context, including a preliminary "as-is" sketch per event
a legal-parameter register, with open questions flagged for the field
a stakeholder map and a discussion guide for each audience.

2. Conduct the research
Use a mix of methods. Interviews tell you what people believe happens; observation shows you what actually happens; tracing an event end to end reveals the gaps between the two.
2.1 Interview stakeholders
Run structured and semi-structured interviews across the full range of people in your stakeholder map: national CRVS officials and policymakers, sub-national administrators, local registrars, health-facility staff who initiate birth and death notifications, and citizens who use the service. Use the tailored discussion guides, and focus on perspectives, pain points and the workarounds people have invented to cope.
2.2 Observe and shadow
Spend time in registration offices and facilities watching the process happen. Note the things documents never mention: infrastructure and connectivity limitations, how complex the forms really are, data-quality issues, queue lengths, and resource constraints. Shadowing a registrar through a normal day surfaces more than any interview.
2.3 Trace each event end to end
For each in-scope event, physically follow the full lifecycle from the triggering event to the issued certificate. Record every step, the forms used, the responsible actor, the time taken, and each point where the case is handed off between people or offices. This is the raw material for your process maps.
How much is enough? Aim for coverage rather than volume. Deliberately include contrasting contexts — urban and rural, high- and low-volume offices, well-connected and offline sites — and actively seek out under-served groups: rural and hard-to-reach families, women facing specific barriers, persons with disabilities, and displaced, stateless or undocumented people. Note your site-selection reasoning so the research is defensible. You have enough when new visits stop surfacing new problems.
3. Synthesise the findings
Turn raw observations into the validated artefacts the next stage depends on. Check everything against the baseline you built during desk research, and resolve the open questions you carried into the field.
3.1 Build the "as-is" process maps
Produce one validated set of process maps for each in-scope event. Capture the flow on site as you trace it (section 2.3), then clean it up into a clear diagram and confirm it with the people who do the work.
Process-mapping convention. Use swim-lane diagrams or Business Process Model and Notation (BPMN). Keep it consistent so maps from different team members can be compared:
one lane per actor (citizen, registrar, health worker, system)
for each step, capture the actor, the input/output document, the system used, and the time taken
mark every decision point and handoff
flag bottlenecks, redundant steps and unofficial workarounds with a consistent visual key.
3.2 Compile the business-rules register
Document the rules that govern how registration works: policies, constraints, calculations and conditional logic — for example age requirements, registration time limits, who may act as an informant, and what evidence is required. These are core business and functional rules, and they become authoritative references that keep the configured system consistent and compliant. Cross-check each rule against the legal-parameter register from desk research, and record where field reality diverges from the written law.
Capture genuine non-functional requirements separately — for example expected performance and availability, offline working and intermittent connectivity, security, and data-protection and retention obligations. These shape the solution architecture and the user roles and scopes, and are easy to lose if they are mixed in with business rules.
3.3 Identify and prioritise the key problems
Synthesise the findings into a shortlist of the top 5–10 challenges, each backed by evidence (a quote, a photo, a point on a process map). For each, note an initial idea for a technological or procedural intervention. This shortlist becomes the design mandate that Co-Design works from, so be clear about what the problem is, why it matters, and who it affects.
3.4 Prepare the findings readout
Pull the above into a concise findings readout for stakeholders — a short report or presentation, led by field observations and made vivid with visuals, quotes and process maps. Its job is to build a shared, evidence-based understanding, make the case for change, and set the strategic direction going into the workshops.
4. Outputs and definition of done
Key outputs: by the end of this stage you should have:
a validated "as-is" process map for each in-scope event
a business-rules register, cross-checked against the legal-parameter analysis
a documented set of non-functional requirements
a prioritised list of the top 5–10 problems, each with supporting evidence
a findings readout for stakeholders.
Definition of done: you are ready to move to Co-Design & Validation when:
[ ] as-is maps are validated with frontline staff for every in-scope event
[ ] the business-rules register is compiled and reconciled with the legal-parameter register
[ ] non-functional requirements are captured separately
[ ] open questions carried from desk research are resolved or escalated
[ ] the top 5–10 problems are agreed and evidenced
[ ] the findings readout is ready for the Co-Design workshops.
5. Resources and support
For broader guidance on field research and process mapping for CRVS, see the CRVS Digitisation Guidebook.
For any questions about gathering requirements or configuring OpenCRVS, contact team@opencrvs.org.
Next: the validated as-is maps, business rules and prioritised problems produced here are the inputs to Co-Design & Validation, where stakeholders turn them into an agreed scope and a future service model.
Last updated